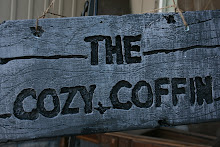
Each year for Halloween I like to do something big to fill the space in my great room. This year I knew I wanted something that would fit in with a dungeon type theme so I started thinking about a bat cave. In the past I have done haunted houses and hung string or shredded tablecloth that people would have to walk through. I wanted something a little more than plastic tablecloths though. I have also used shredded sheets to hang on my porch, which was my friend Heidi’s idea. But I knew I needed some support to pull that look off. I made a trip to Lowe’s wondering if they might have some netting that would be cheap and help me achieve the look I wanted. I found this black Blue Hawk netting 50ft x4 ft for $24.95 it was perfect for the amount of space I needed to cover.
So here is what you will need, this is great for both inside and outside decorations

1 roll black Blue Hawk chicken netting 50ft x 4 ft
Different colored fabrics, burlap, dyed sheets, cheesecloth
to fill 6 slots (3”x 36”strips for high ceilings) across and a strip every 8 squares in length ( it doesn’t have to be exact, you don’t want it uniformed)
Ruler
Scissors or rotary blade
Cutting mat
Black poster board
Black string
Bat template
Metal hooks ( 14lb 3m hooks)
Globe or string lights
Large binder clips ( for outside hanging)
Heavy string ( I used bakers twine)


First measure the amount of netting you will need for your space, this will help determine how much fabric you will need. I had some old sheets I had dyed years ago. Using scissors I would put a little snip across the sheet every 3 inches and then I would rip it the rest of the way. It goes a lot faster! I also used gray burlap from hobby lobby, 15 yds for this space. Different colors and fabrics enhance the look. Once you have all your strips cut the next step is to tie the netting to something secure, I used weighted chairs and my banister.

You will then begin threading the strips, you do not need to knot them in place. I would come up through one slot and then a couple of squares over thread the strip back down. Be mindful of the edging of the netting, it is sharp and can scratch. After attaching the strips, I then took some gauze from the dollar store and weaved it through the strips, this is not necessary but I think it adds more texture and fills it in more.
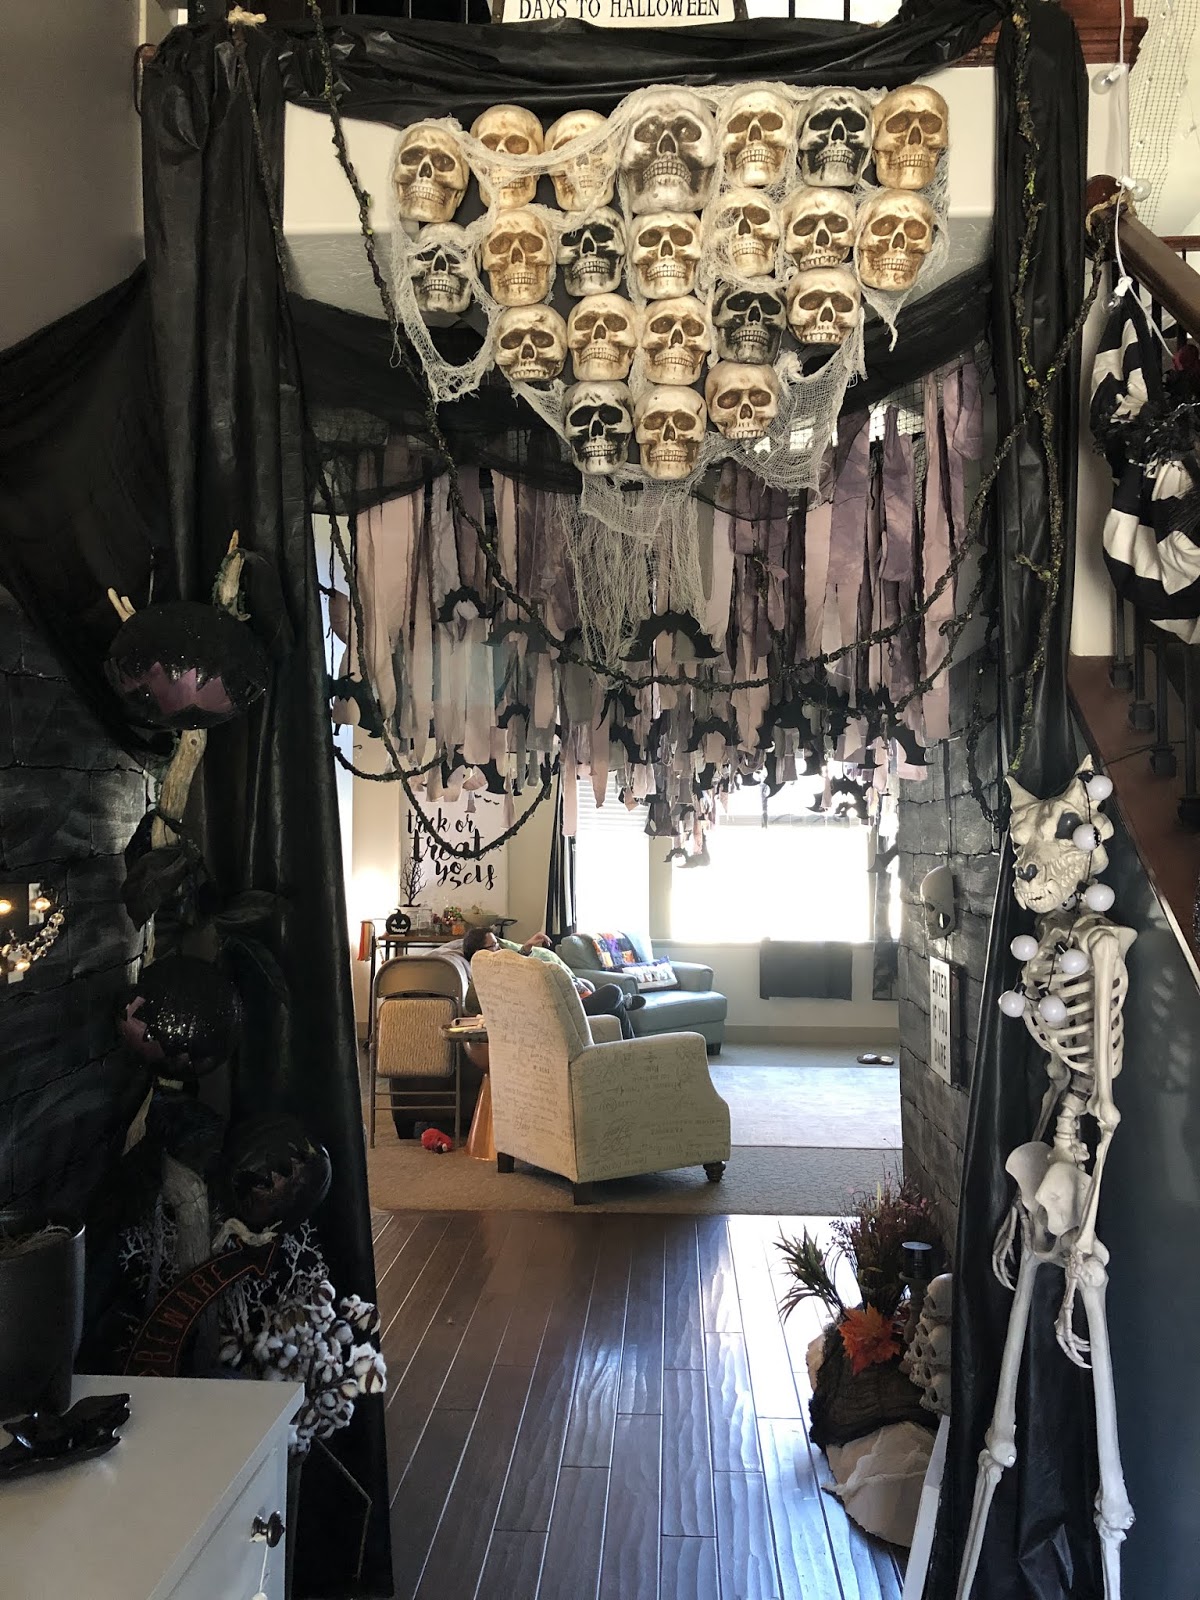
I knew I wanted bats and found a great tutorial by Martha Stewart for some large ones. I used black poster board to cut these out. I had a ton of smaller bats precut from an event so I used those as well. I used a hole punch in the bottom of the bat, so it would be hanging upside down and then tied some black yarn. I then tied them intermittently through out the fabric to the netting.


Covering this big of a space it was quite heavy. The original plan was to hang it across my ceiling. I had attached it to my curtain rod just to tie the strips but as I raised it up I loved the way it sloped. I could have tied it to my banister but I wanted to be able to look down so we decided to do a first in my Halloween decorating. Put hooks into our walls! We got some metal hooks and screwed them into the studs in our ceilings, we tried to go as small as we could. In a smaller area like this one
I was able to use 14 lb command hooks.
After you hang it up in a smaller space you will notice you can see the edging where the netting droops because of the weight.. I took some black cheese cloth ( it’s thicker) or a strip of sheet and attached it to the hooks to cover the droop.


I originally put the gauze on first but found it easier to do it after.
Before we raised it all up, I attached the string of lights, carefully figuring out how I would plug them in. I used the strips of fabric to knot the lights into place, then we raised it all up and anchored the netting to the hooks. The smaller space I would recommend attaching the lighting to separate 3m hooks so the lighting can act as a support to the netting.
For the porch I have vinyl siding for my porch ceiling. I tied some cotton twine to the ends and then I attached binder clips to the siding by clipping it between the siding. You might have to force it a little. I then threaded the cotton twine through the clips to hold the netting up. I also attached lighting.

I’m so happy with the way it all turned out! The best part is that it will be easy clean up! Just roll it all up and store it in my garage rafters!
Happy Haunting!!!